
Water tank repair in Kuwait from Gulf Al-Arab Company covers finding the source of a leak, welding cracks in plastic and fibreglass tanks, replacing float valves and stop valves, and removing a failed tank and fitting a new one in every governorate. Leak detection starts from KWD 9.250 and welding a crack in a plastic tank starts from KWD 13.750. Call or WhatsApp us on 65550977 and send a photo of the wet spot or the crack.
We are a transport, shipping and general services company, so we handle a tank from start to finish: we reach it on the roof or in the yard, repair it if it can be repaired, and if it cannot, we lift the replacement and haul the old one away with our own vehicles and crew, with no third party to chase. This guide explains how to recognise the fault, what can be repaired and what should be replaced, and what each step costs.
At a glance
- Faults we fix: leaks from the body or base, cracks and holes, overflow from the float, a tank that will not fill, dripping joints and valves, and seepage in underground tanks.
- Materials: polyethylene (multi-layer plastic), fibreglass, steel and galvanised tanks, and concrete underground tanks.
- Prices: leak detection from KWD 9.250, plastic welding from KWD 13.750, fibreglass from KWD 18.750, a mechanical float from KWD 13.900.
- Time: most repairs take one to three hours, and the weld is left to set before refilling.
- Removal and installation: we lift the new tank and take the old one away, labour from KWD 18.250.
- Contact: call or WhatsApp 65550977.
How much does water tank repair cost in Kuwait?
Water tank repair in Kuwait starts from KWD 9.250 for inspection and locating the leak, and rises with the tank material, the extent of the damage and how hard the tank is to reach. The table below lists starting prices for the most requested jobs; the final price is confirmed once the technician has seen the tank or its photos, before any work begins.
| Job | From (KWD) | Notes |
|---|---|---|
| Leak detection and inspection of the tank and joints | 9.250 | Counted towards the repair if done on the same visit |
| Welding a crack or hole in a plastic tank | 13.750 | Hot-air welding with a rod of the same material |
| Fibreglass tank repair | 18.750 | Mat and resin layers with a UV-resistant top coat |
| Full repair with insulation of the damaged area | 23.250 | For tanks with several cracks or a worn base |
| Tank cleaning and disinfection after repair | 14.250 | Recommended after any repair that opens the tank |
| Mechanical float valve replacement | 13.900 | Part, fitting and adjustment included |
| Electric float switch installation | 73 | With level sensor and pump connection |
| Removing the old tank and fitting a new one | 18.250 | Labour for removal, lifting and connection; the new tank is priced separately |
| Valves and joints, underground and steel tanks | After inspection | Parts and materials differ from house to house |
What pushes the price up or down?
The first factor is the tank material: welding plastic is quicker and uses less material than fibreglass, which needs several layers and curing time. Next comes the size of the damage, since a hairline crack is not the same as a long split that needs reinforcing, and a single hole is not the same as a wall worn through in several places. Location counts too: a tank on an open roof with a fixed ladder is easier than one on top of a raised room or behind other tanks, and an underground tank must be emptied and ventilated before anyone goes in.
Extras the technician finds during the job also matter, such as a tired float, a valve that will not close or a rusty joint. In that case he tells you the part and its price before fitting it, and you can approve it or leave it for later.
How is a tank leak found before the tank is opened?
A tank leak in Kuwait is found in three steps: watching the water level and the meter, inspecting the base, wall and joints by eye and torch, and then working out whether the water is leaving the tank body or the pipework that runs from it. This step stops you paying to weld a sound tank while the water is really coming from a pipe behind it.

The overnight meter test: tank or pipes?
Before bed, close every tap in the house and switch off the pump, then take a photo of the main water meter and, if you can, mark the water level inside the tank with a pen. In the morning, compare. If the meter has moved while the whole house was closed, water is entering the tank and escaping somewhere, usually a float that does not shut properly or an overflow running onto the roof. If the meter has not moved but the level has dropped, the water is leaving the tank itself or the outlet joint, and the search begins at the body and the base.
This simple test saves time on the visit, because the technician arrives already knowing where to look. Send the result with a photo on WhatsApp 65550977 before the appointment.
External and internal leaks
An external leak is the one you can see: drops on the tank wall, a dark patch on the tiles under the base, or a dry white salt line around a joint. An internal leak is harder to spot, such as water escaping from a crack at the bottom of an underground tank into the soil, or seeping through the ceiling of a room under a roof tank. In the second case the technician watches the level over several hours and may use a thermal camera, which shows cool damp areas in a wall, or an acoustic detector that picks up the sound of water in the pipes.
A leak under pressure: temporary fix, then permanent
If water is spurting from a crack, the tank is full and cannot be emptied straight away, the technician applies a fast-setting sealing compound that works in the presence of water to stop the loss for hours or days. This is first aid only; the permanent repair comes after emptying and drying, using the method that suits the tank material. Do not accept the temporary fix as final, because it cracks with the first heatwave.
Signs at home that your tank has a fault
The clearest signs of a tank fault in Kuwaiti homes are a falling level with no use, water overflowing from the top, a pump running more than usual, and a sudden jump in the water bill. The table links each sign to its most likely meaning and what you can do until the technician arrives.
| What you notice | What it usually means | What to do now |
|---|---|---|
| Water running from the overflow or the top of the tank | A stuck float or a bent arm | Close the supply valve and photograph the float |
| The tank never fills to the top | Float set too low or a blocked inlet | Watch how fast it fills and send it to us |
| A damp patch or salt line under the base | A crack at the bottom or a loose outlet joint | Put nothing heavy on the tank and lower the level |
| The pump starts and stops every few minutes | A leak in the pipework or a faulty non-return valve | Switch the pump off overnight and try the meter test |
| The water bill rose for no reason | A silent overflow or a hidden leak | Compare the meter figure between evening and morning |
| The water colour or smell has changed | A loose lid or a crack letting dust in | Do not drink it, and ask for a clean after the repair |
| A visible crack or a bulge in the wall | Heat stress or excess pressure | Empty the tank before the crack grows |
Before you climb onto the roof
Do not stand on the tank rim or its lid to look inside: plastic lids weaken in the sun and can break. If the leak is near the pump wiring, switch off the power at the breaker first.
Plastic water tank welding in Kuwait
Plastic water tank welding in Kuwait is done with hot air and a welding rod made of the same polyethylene, so the rod and the edges of the crack melt together and become one piece as they cool. Most household tanks in Kuwait are made of this multi-layer material, which makes this the most requested repair, starting from KWD 13.750.
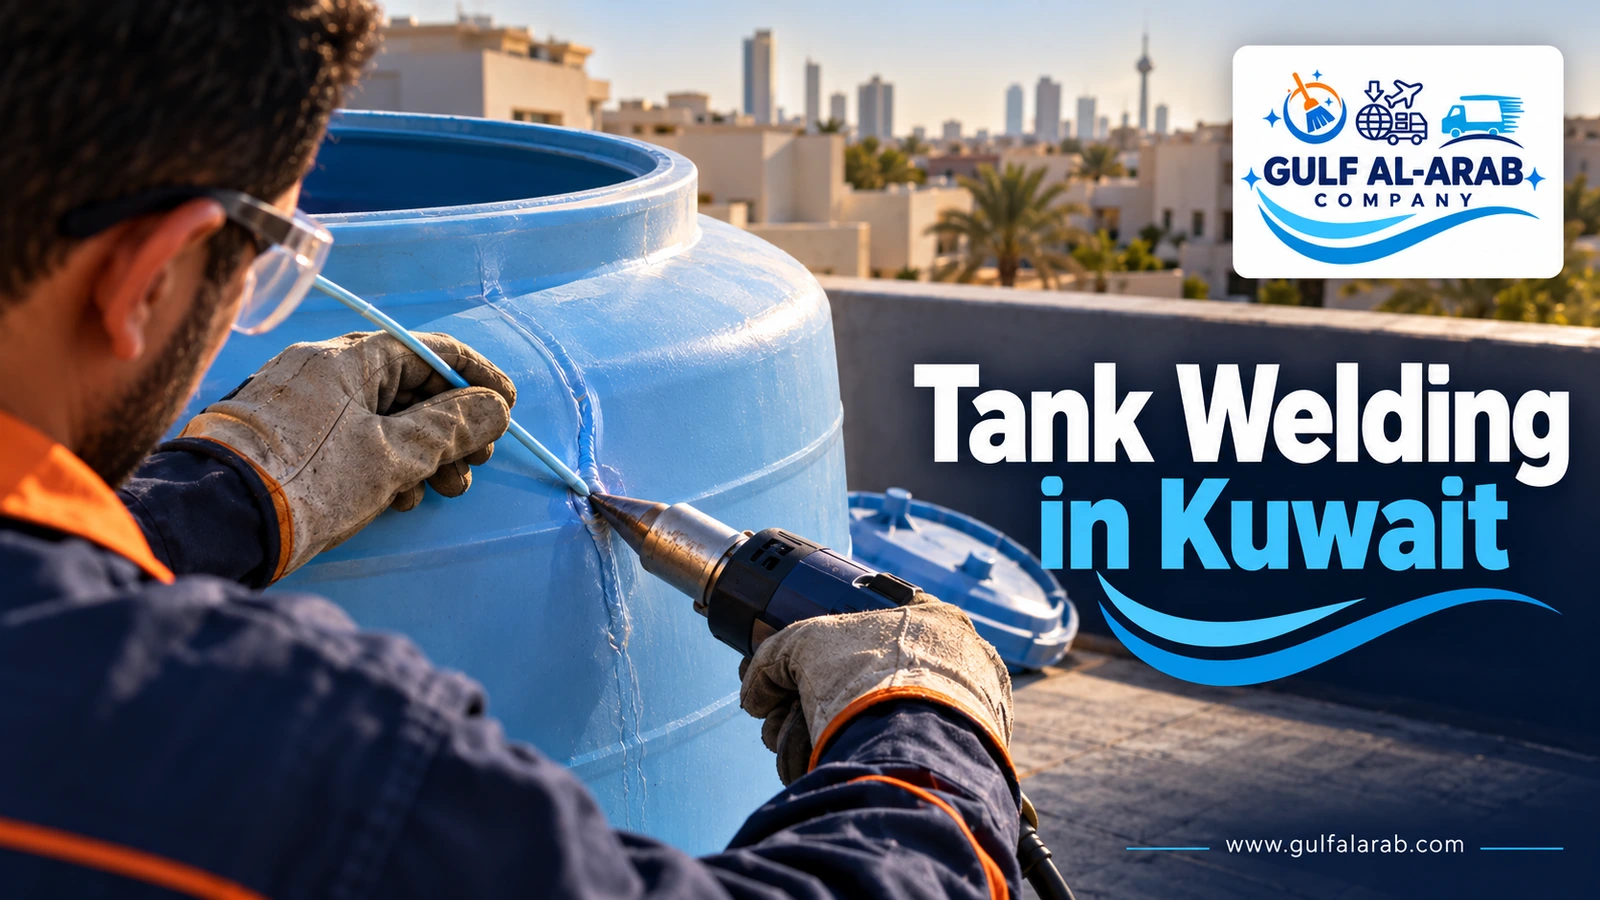
How a plastic tank is welded, step by step
- Empty the tank to well below the crack and dry the area completely, because a single drop of water stops the weld from fusing.
- Scrape the surface around the crack to remove the layer the sun has oxidised; oxidised plastic does not fuse well.
- Drill a small hole at each end of the crack so it cannot run further during or after the work.
- Cut a V-shaped groove along the crack for the molten rod to fill.
- Feed the rod with hot air at a controlled temperature, without burning the plastic or changing its colour.
- Let the area cool naturally, then refill the tank gradually and watch the weld.
Why glue, silicone and tank-repair putty do not last
Many people look for a putty or an adhesive that fixes the problem without draining the tank. In practice, polyethylene is one of the hardest materials to bond to: its surface is smooth and waxy and gives an adhesive nothing to grip. The glue may look fine for a few days, then the tank expands in the midday heat and contracts at night, the putty lets go and the leak returns, and the crack may grow underneath without you noticing. That is why adhesives are used only as first aid; the repair that lasts is heat welding with the same material.
Fixing a hole in a plastic water tank
A small hole, such as one made by a nail or a sharp object dropped on the tank, is filled with molten rod. A larger hole gets a patch cut from polyethylene sheet that overlaps its edges on every side and is welded all the way round. If the hole is in the floor or near the outlet joint, the technician checks the base the tank sits on, because a small stone or a protruding bolt underneath is often what made the hole.
Some workshops mention other ways of welding polyethylene, such as hot-plate fusion and vibration or friction welding. These are factory methods for making parts, not practical on a tank installed on a roof. On site, hot air and a rod remain the practical method.
Fibreglass water tank repair in Kuwait
Fibreglass tank repair in Kuwait means building new layers of glass-fibre mat soaked in resin over the damaged area, followed by a top coat that protects the repair from the sun. It starts from KWD 18.750. These tanks are common in villas, buildings and large sectional tanks, and they can be repaired many times over if the work is done correctly.
The stages of a fibreglass repair
- Complete drying: resin will not cure on a damp surface, so the area is left until it is dry deep inside the crack.
- Sanding: the old glossy layer is removed over a wide area around the crack so the repair grips the body.
- Layers: mat is laid on the area and soaked with resin, layer upon layer, and pressed to drive out air bubbles.
- Reinforcement: on long splits or load-bearing areas, wider fibreglass strips are added to spread the stress.
- Top coat: gelcoat or a UV-resistant finish outside, and a drinking-water-safe coating inside.
- Testing: once fully cured, the tank is filled gradually and the area watched before the system is switched back on.
What ruins a fibreglass repair most often is haste: resin mixed in the wrong ratio, a tank refilled before the repair has cured, or an inner coating unsuitable for water. That is why we ask you to plan not to use the repaired tank for a few hours afterwards; the technician tells you how long, depending on the weather.
Steel and galvanised tanks: weld or replace?
A holed steel or galvanised tank can be welded if the rust is confined to one or two spots and the rest of the wall still has its thickness. If the wall has thinned in several places, welding simply opens new holes next to the old ones, and replacement works out cheaper. The technician checks the thickness by tapping and scraping around the hole before deciding.
After welding, the area is treated on the inside with a coating suitable for drinking water, because bare steel rusts quickly and turns the water brown. In homes that still rely on old tanks of this kind, we often suggest switching to an insulated polyethylene tank, especially if the roof can take less weight.
Underground tanks: seepage and groundwater
Seepage from an underground tank in Kuwait usually shows up as a slowly falling level, damp in a nearby wall, or cloudy water after rain. It is treated by emptying and cleaning the tank, locating the crack, sealing it with fast-setting cement and crystalline waterproofing that penetrates the concrete, and finishing the inside walls with an epoxy coating safe for drinking water.
The bigger danger with an underground tank is not water getting out but other water getting in: salty groundwater or a leak from a nearby drain line. So it is not enough for the level to stop falling; the tank must be cleaned and disinfected after the repair, and the hatch and the ground around it checked so that washing water or rain cannot run into it.
Safety in underground tanks
An underground tank is a confined space where oxygen can run low or fumes from sealing materials can collect. Our technicians go in only after ventilating the tank, with a colleague staying at the hatch, and with lighting that does not run off exposed household wiring.
Is your tank leaking right now?
Send a photo of the crack or the float and tell us where the tank is, and we will reply with the type of repair, its price and the earliest slot.
Water tank float valve repair in Kuwait
Float valve repair deals with two opposite problems: water overflowing because the float will not shut, or a tank that never fills because it shuts too early. For the first, adjusting the arm or replacing the washer may be enough; for the second, the shut-off level is reset or the inlet is cleared of scale. Replacing a mechanical float starts from KWD 13.900, and an electric float switch from KWD 73.
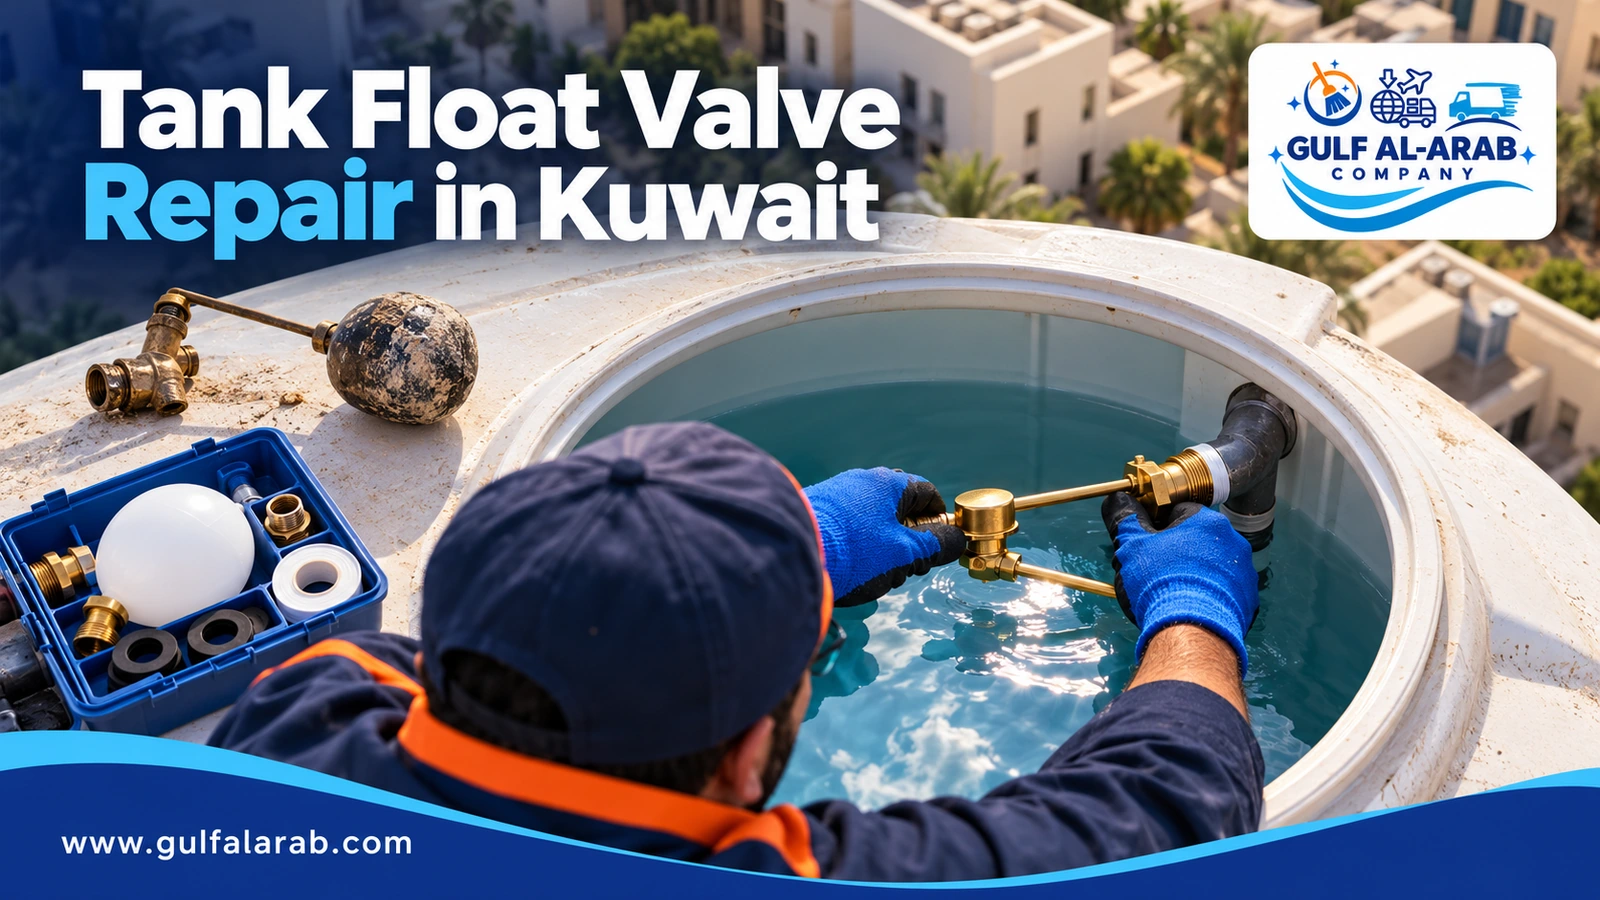
When should a float be adjusted, and when replaced?
A float is adjusted when it is sound but set at the wrong level, or its arm has bent. It is replaced when the ball has filled with water and sunk, the valve seat has worn from the scale that builds up with Kuwaiti water, or it whistles and knocks when it closes. A float that needs adjusting more than once in the same season has reached the end of its life, and replacing it costs less than calling the technician every month.
Types of tank float
The right float depends on the water pressure in your area and on whether there is a pump on the inlet. The table compares the types commonly sold in Kuwait.
| Type | How it works | Suits | Watch out for |
|---|---|---|---|
| Plastic mechanical | A floating ball lifts an arm that closes the valve | Small tanks and normal pressure | Sun damage if the lid is exposed |
| Brass mechanical | The same idea with a stronger metal body | High pressure and large tanks | Scale builds up on the valve over time |
| Electric with sensor | A level sensor switches the pump on and off | Homes with a lift pump | Needs wiring protected from water |
| Smart with control panel | Sensors, alarms and sometimes phone control | Villas and multi-tank buildings | Higher price and needs correct setup |
Joints, valves and the pump around the tank
Half of the leak calls we get from homes are not from the tank body at all, but from the fittings around it: an inlet valve that will not close, a loose outlet joint or an overflow pipe cracked by the sun. The technician checks every point up to the pump and replaces damaged parts with corrosion- and UV-resistant ones.
The pump itself tells you a lot. If it starts and stops every few minutes with all taps closed, there is a leak in the pipework or a non-return valve that is not holding the water. If it runs for a long time and the pressure does not build, the tank may be empty because of a stuck float, or the inlet may be blocked with scale. Linking these symptoms together is what saves you from buying parts you do not need.
Why do water tanks crack in Kuwait?
Tanks in Kuwait crack sooner because of summer heat and direct sunlight, which weaken the outer layer; the large gap between day and night temperatures, which expands and contracts the wall every day; and dust that enters through a loose lid and settles on the floor. Humidity and salty air near the coast also speed up rust on metal tanks and brass fittings.
There is another cause we see often because of our work in transport: tanks damaged before they were ever used. A tank dragged along the ground, tied onto a truck with a rope pressing into its wall, or lowered off a roof by letting it drop onto its rim can carry a hidden crack that appears months later. The same goes for an uneven or gravel-strewn base, which makes the whole weight of the water bear on one point of the floor until it gives way.
Habits that extend tank life
Shade the tank or choose a light colour, close the lid tightly after every opening, clean the tank twice a year, keep the base level and clean, and make sure the pump never draws from a nearly empty tank.
Repair the tank or replace it?
Repair is the right choice if the fault is limited to one or two places and the tank is still solid; replacement is better value if cracks keep coming back, the inner layer has changed colour, or the wall crumbles when pressed. The comparison below helps you decide before the technician arrives.
| Criterion | Repair | Replace |
|---|---|---|
| Number of cracks | One or two clear cracks | Many cracks, or cracks that return after each repair |
| Wall condition | Hard and does not crumble when scraped | Brittle, flaking or very thin |
| Inner layer | White and intact | Discoloured or with algae that will not clear |
| Location of the fault | Wall or fittings | A dented floor or the area carrying all the weight |
| Cost | Far less than a new tank | Close to the price of a new tank with fitting |
| Metal tanks | Rust in one limited spot | Widespread rust and a thin wall |
If you decide to replace, see water tanks for sale in Kuwait to choose the capacity and number of layers before the removal day.
Water tank removal and installation in Kuwait
Tank removal and installation in Kuwait means draining and disconnecting the old tank, bringing it down from the roof, lifting the new one into place and connecting it to the inlet, outlet and float, then testing it. Labour starts from KWD 18.250, while the new tank is priced separately according to its capacity and type.
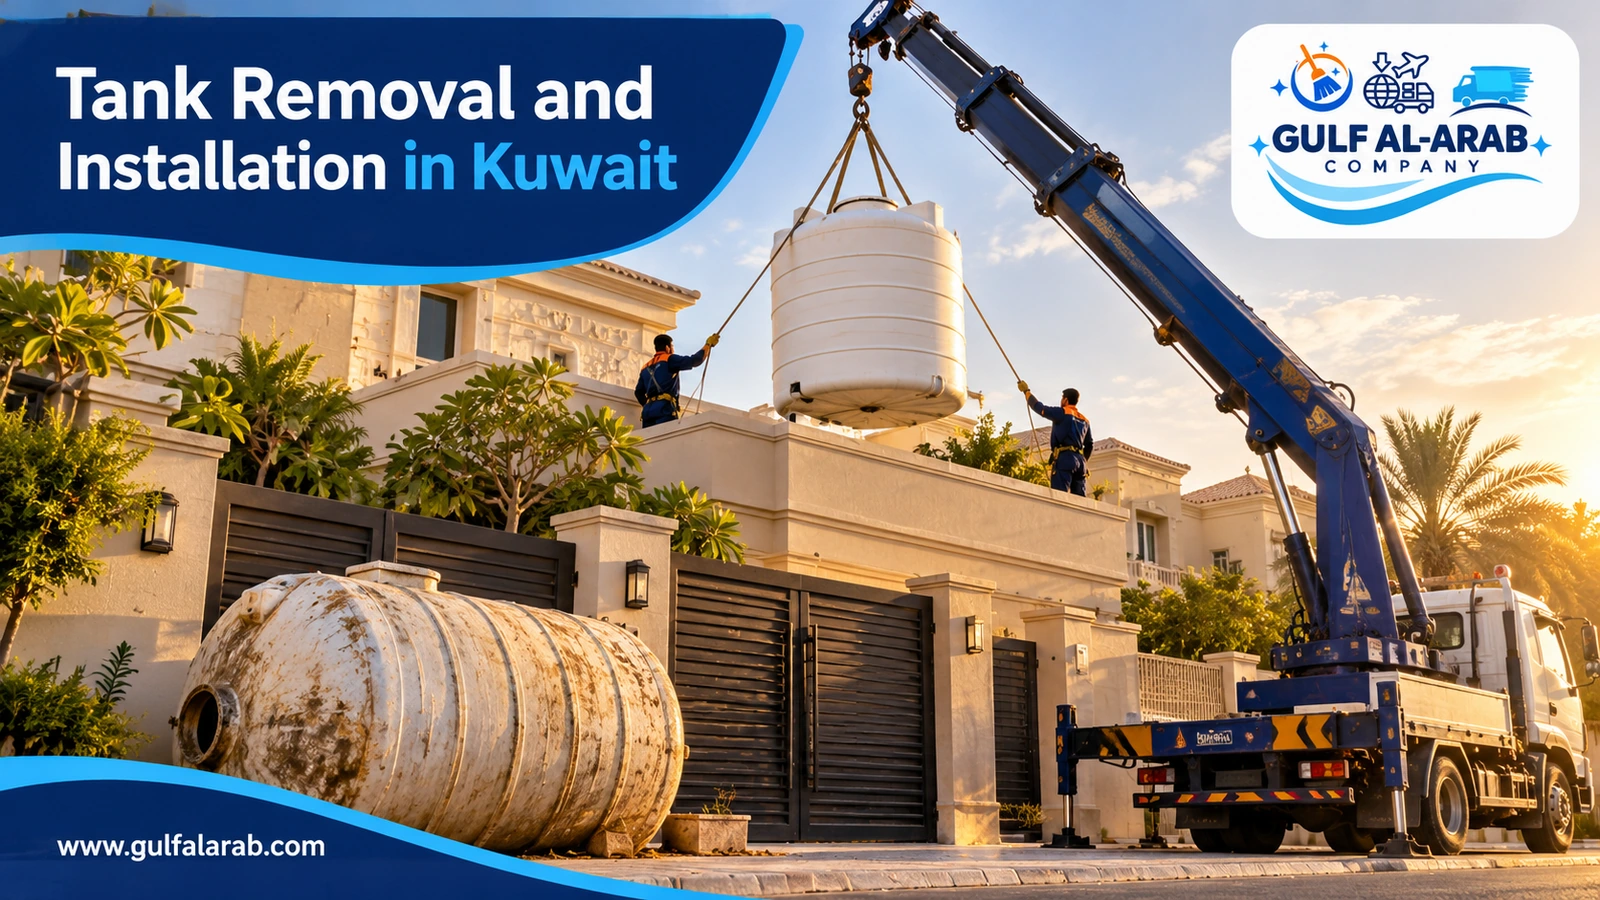
This is where being a transport company makes a difference. A large tank is not carried by hand up a narrow staircase, so before the appointment we decide how it will be lifted: by rope over the parapet for medium sizes, or with a small crane for large tanks and tall houses. We strap the tank to the vehicle with wide belts that do not press into its wall, and we take the old one with us so it is not left in the yard or on the pavement.
Before installing, we check and level the base, and we replace old fittings if they are worn rather than fitting a new tank onto parts at the end of their life. Finally, the tank is filled, every joint is watched, and the float is set to the right level.
- Confirm the capacity, the tank position and the lifting method from photos or a site visit.
- Drain the old tank to the drain and disconnect the inlet, outlet and float.
- Bring the old tank down and haul it away, then clean and level the base.
- Lift the new tank and set it in place with the outlet facing the pipework.
- Connect it with new fittings, tighten them, and fit or adjust the float.
- Fill, test, switch on the pump and check the pressure in the house.
From the first call to handover: how a repair visit runs
A repair visit starts with a WhatsApp message containing photos of the tank and the problem area, and ends with a full, tested tank and a clean work area. In between, the steps are always the same:
- Photos and description: tank type, capacity and position, what you have noticed and since when.
- Initial price: we tell you the likely repair, its starting price and the appointment.
- On-site inspection: the technician confirms the source and gives you the final price before starting.
- Draining and preparation: the tank is drained to the required level and the area dried.
- Repair: welding, fibreglass layers or a replacement part, depending on the case.
- Testing: once dry or cured, the tank is filled and the repaired areas watched.
- Handover: the lid is sealed, the area cleaned, and you are told anything that needs following up.
Prepare before the technician arrives
Know where the main supply valve is, clear the way to the roof, let the household know the water will be off for a few hours, and fill what you need for drinking and cooking before the tank is drained.
After the repair: cleaning, disinfection and checks
After any repair that opened the tank or left it empty and exposed for hours, it is wise to clean and disinfect it before using the water for drinking and cooking again; cleaning and disinfection with a repair starts from KWD 14.250. Scrapings, work dust and material residue should not stay in the water.
We also suggest a simple check a week later: look at the repaired area and under the base, and watch the meter for one night as you did the first time. If you see any new damp, send a photo straight away. If the tank water reaches you scalding hot in summer, it may need a water tank cooler installed, and if there is visible sediment, the answer is central water filters on the inlet.
How to tell a real repair from a patch-up
A capable tank technician asks about the tank material before coming, inspects before giving a final price, and refuses to weld a damp surface or to put putty on a plastic tank and call it done. These are the points worth asking about:
- Does he know the difference between welding polyethylene and repairing fibreglass, and does he carry the tools for both?
- Does he find the leak source first, or start repairing straight away?
- Does he tell you which parts need replacing and their price before fitting them?
- Does he ask for the repair to dry or cure, or fill the tank immediately?
- Does he use drinking-water-safe materials inside the tank?
- Does he follow safety procedures on the roof and in underground tanks?
Remember that the roof itself may be the source of the damp rather than the tank. If water turns out to be seeping through the roof tiles or around the base into the ceiling, the fix is roof insulation, not tank welding.
Water tank repair across Kuwait’s six governorates
We cover water tank repair in all six governorates, reaching houses, villas, buildings and plots at the agreed appointment time:
- Capital: Shuwaikh, Kaifan, Shamiya, Rawda, Adailiya, Qadsiya, Faiha, Nuzha, Khaldiya, Yarmouk, Dasma.
- Hawalli: Salmiya, Jabriya, Rumaithiya, Bayan, Mishref, Salwa, Shaab, Hittin, Zahra, Siddiq, Salam.
- Farwaniya: Farwaniya, Khaitan, Jleeb Al-Shuyoukh, Omariya, Rabiya, Andalous, Rehab, Firdous, Ardiya, Ishbiliya.
- Ahmadi: Fahaheel, Mangaf, Mahboula, Abu Halifa, Fintas, Egaila, Riqqa, Sabahiya, Hadiya, Sabah Al-Ahmad, Wafra.
- Jahra: Jahra, Qasr, Oyoun, Naseem, Waha, Taima, Saad Al-Abdullah, Amghara.
- Mubarak Al-Kabeer: Sabah Al-Salem, Qurain, Adan, Qusour, Messila, Abu Ftaira, Fnaitees, Masayel.
Tank repair in any governorate
Call or WhatsApp 65550977, tell us your area and the tank type, and we will give you an appointment and an initial price.